
Setting Up an AI 3D Modeling Environment by Integrating VSCode and Blender with MCP
Introduction
This article describes the steps to integrate an AI assistant (GitHub Copilot) in VSCode with Blender using MCP (Model Context Protocol) to build an AI-powered 3D modeling environment. By utilizing MCP, you can control Blender directly from VSCode and generate 3D objects through natural language instructions.
Prerequisites
The following environment is assumed to be in place:
- Windows OS
- Blender installed
- VSCode installed with GitHub Copilot integration
- Python installed
Installing uv
What is uv?
uv is a Python package manager that replaces the traditional pip/venv. Implemented in Rust, it features significantly faster performance compared to conventional tools.
Installation Steps
Open the VSCode terminal and run the following command:
powershell -c "irm https://astral.sh/uv/install.ps1 | iex"
After installation, you'll be prompted to add the path to your environment variables. Follow the instructions to configure it.
Restart VSCode and verify that uv is properly installed by running the following command:
uv --version
If the version information is displayed, the installation was successful.
Adding MCP Server
Configuring MCP Server
-
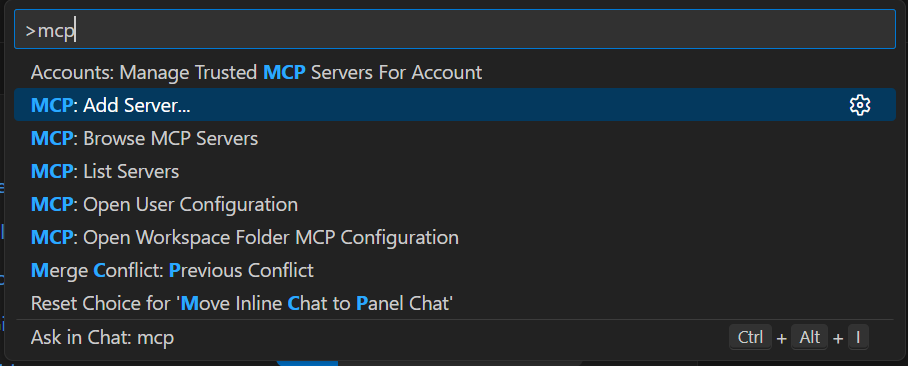
Press
Ctrl + Shift + Pin VSCode to open the command palette -
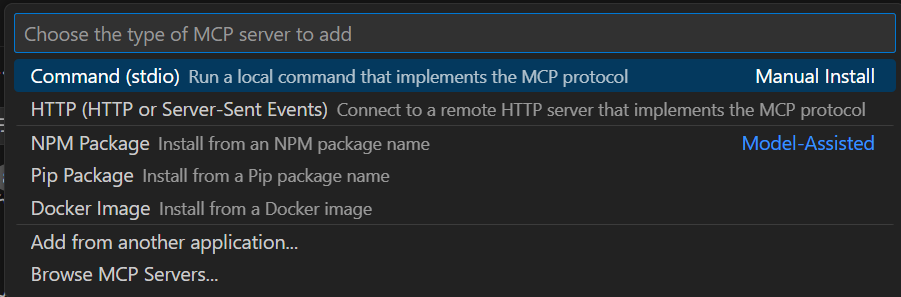
Select the command to add an MCP server
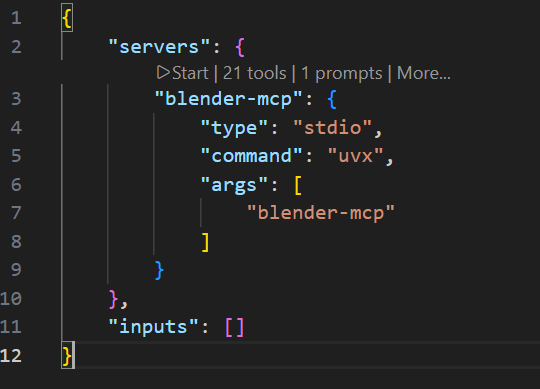
- Enter the following command to add the configuration
uvx blender-mcp
- Once the configuration is added, click the "Start" button to launch the MCP server
Installing Blender Add-on
Downloading the Add-on File
Download the Blender add-on file (addon.py) from the GitHub repository.
https://github.com/ahujasid/blender-mcp
Installing the Add-on in Blender
- Launch Blender and open "Edit" → "Preferences" → "Add-ons"
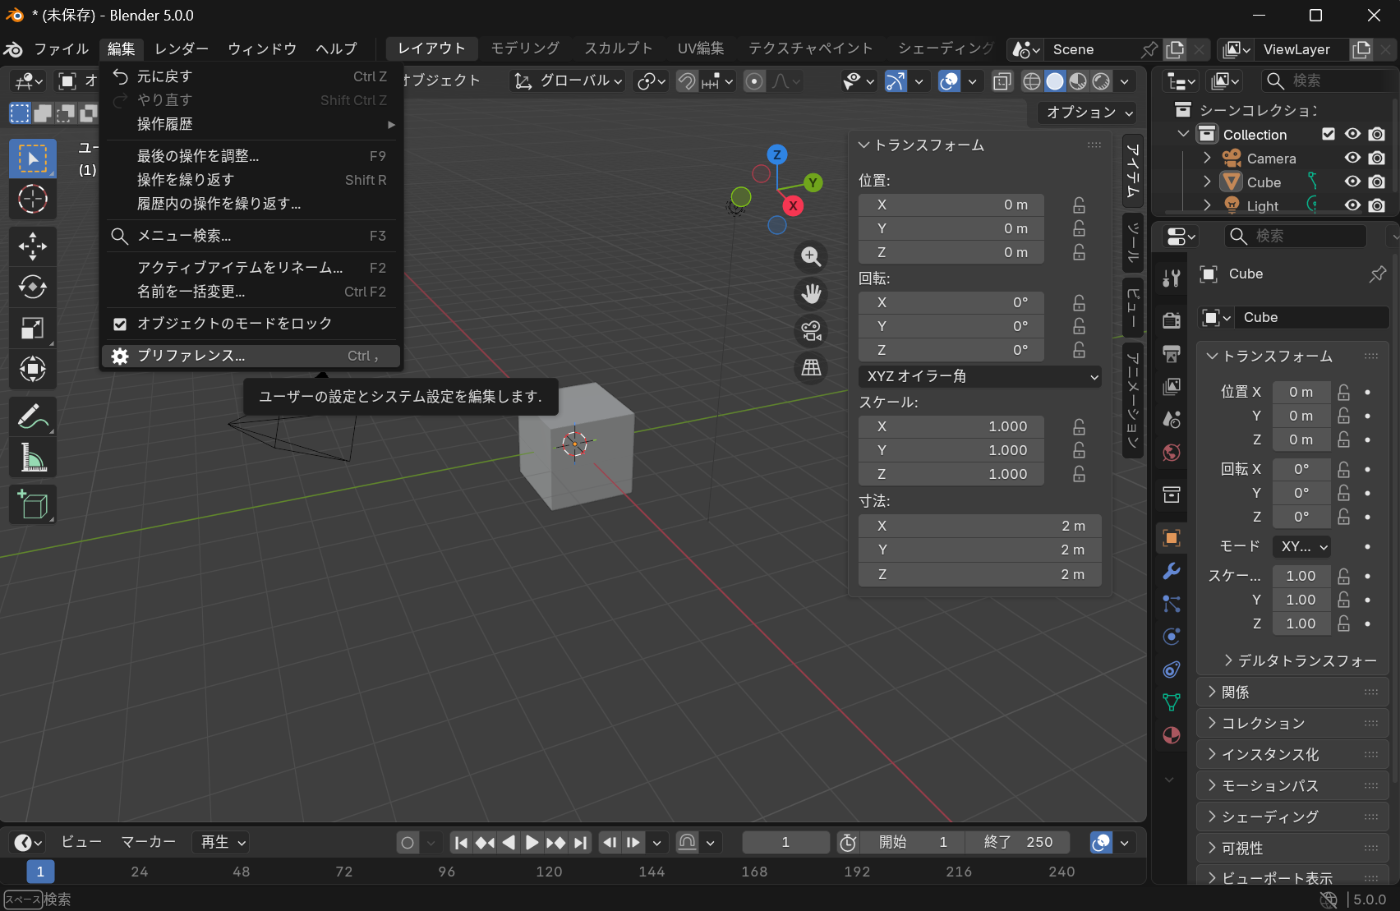
- Click "Install from Disk" and select the downloaded
addon.py
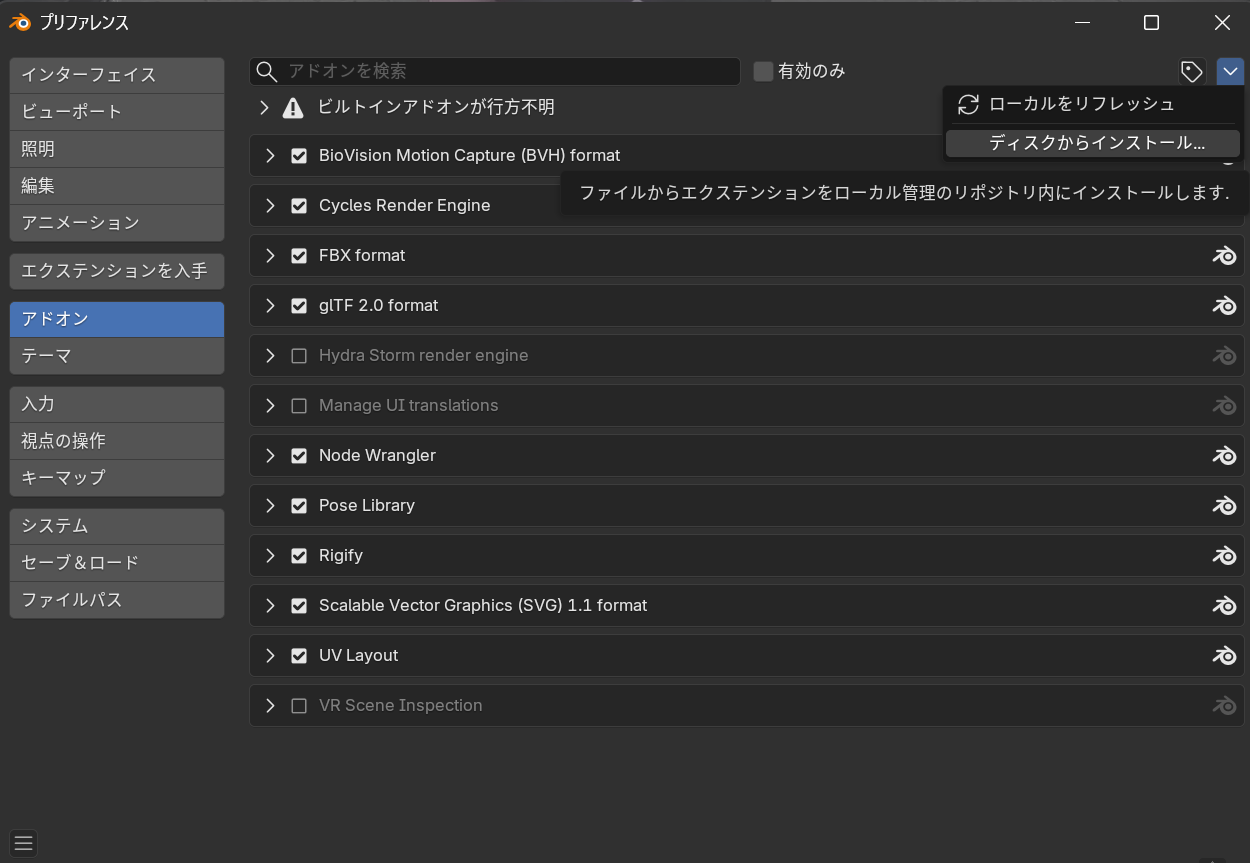
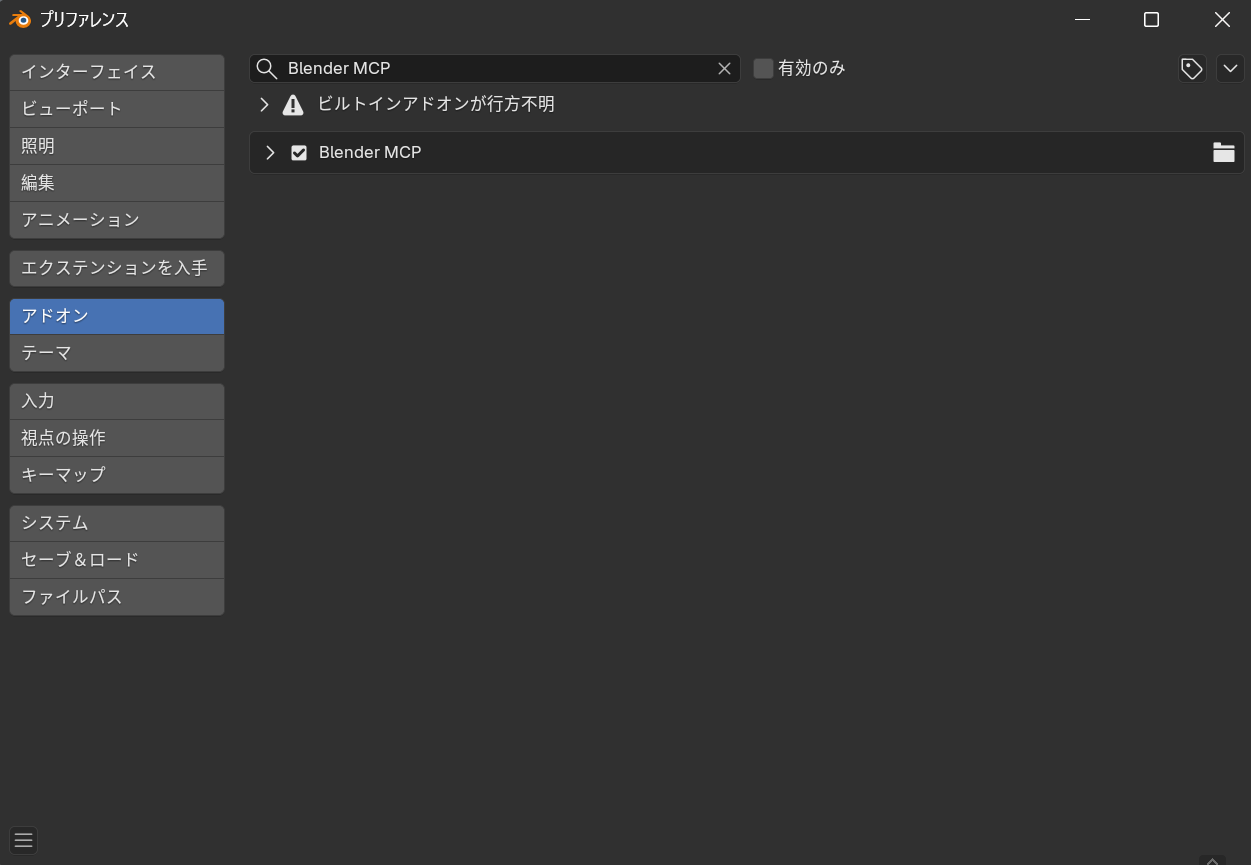
- When the add-on is successfully installed, it will appear in the list
- A "BlenderMCP" panel will be added to Blender's sidebar
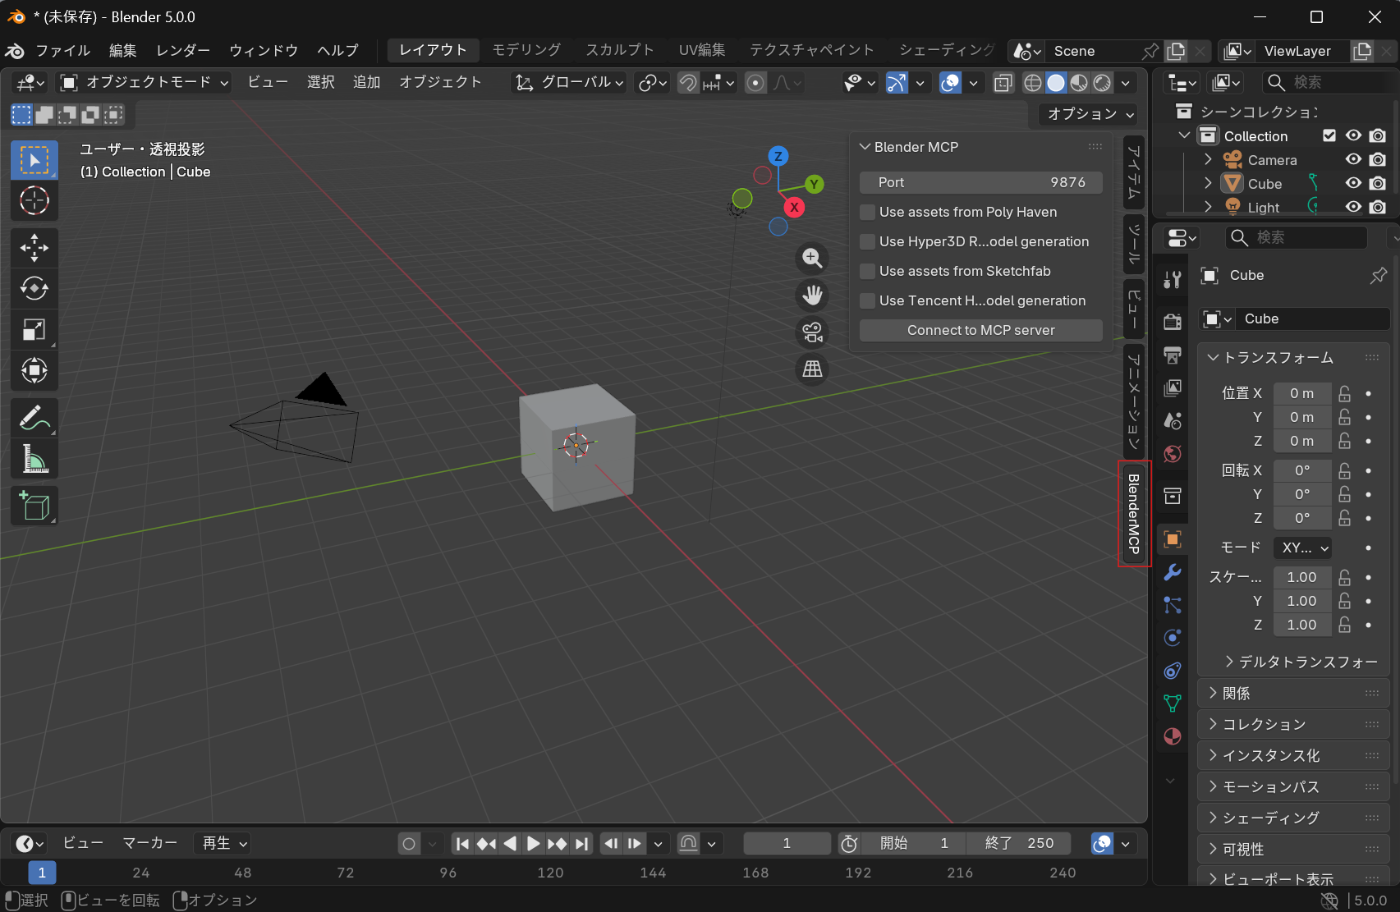
Connecting to MCP Server
Click the "Connect to MCP server" button in the BlenderMCP panel to connect to the MCP server launched in VSCode.
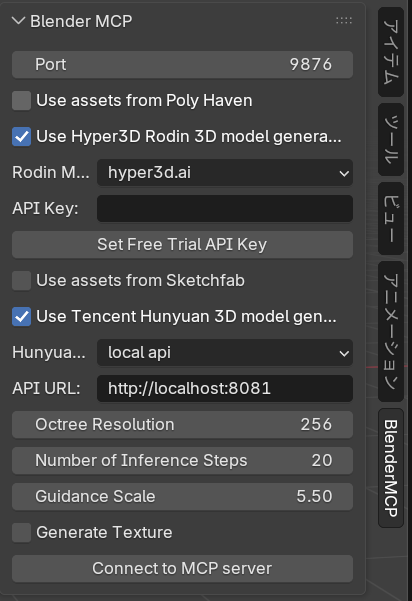
About AI Auto-generation Features
If you want to use cloud-based 3D generation AI such as Hunyuan3D or Hyper3D Rodin, you need to enable the corresponding feature checkboxes. Using these features requires API keys for each service.
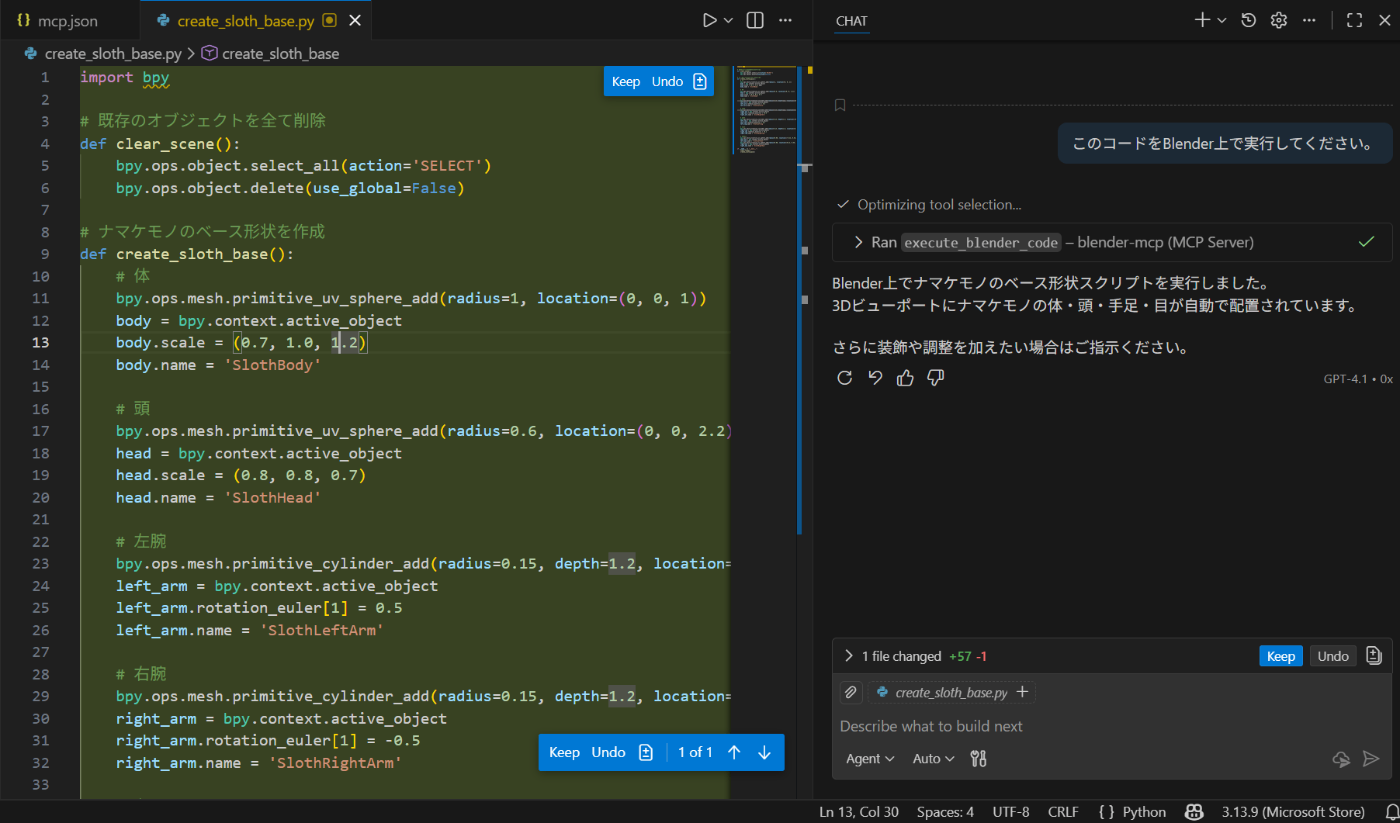
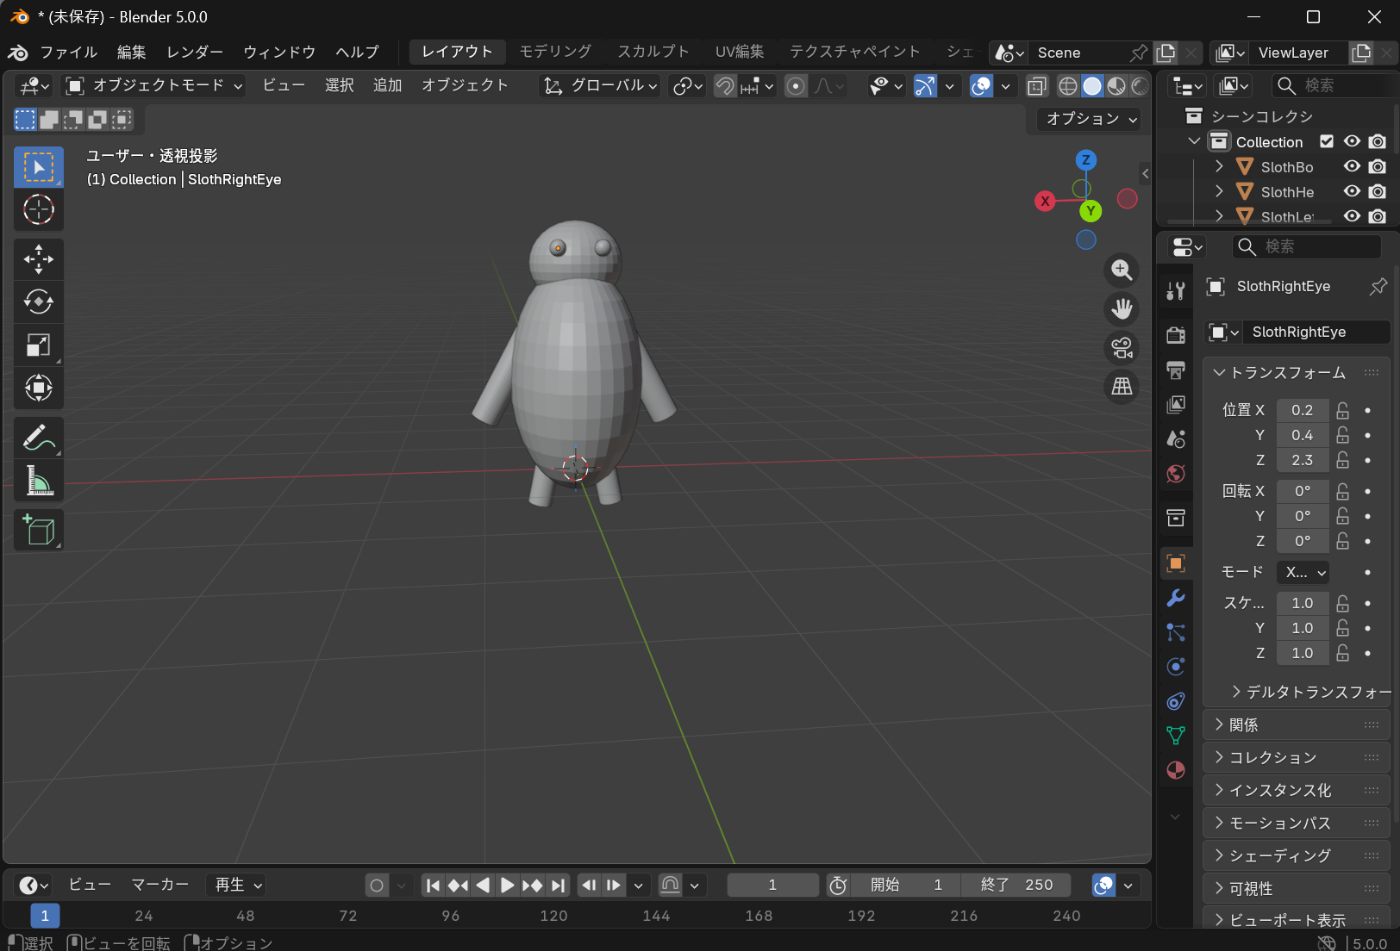
Testing the Setup
Let's first try Python script-based operations. When you give 3D modeling instructions to the AI assistant in VSCode, objects will be generated in Blender.
Conclusion
By following the steps above, we've successfully built an environment for performing 3D modeling in Blender using generative AI from VSCode. In this environment, you can control Blender through natural language instructions, making 3D modeling more accessible even for programming beginners.
MCP-based integration represents a new approach to unifying AI assistants with creative tools, and further developments are expected in the future.